NGINX三大功能:发布静态页面、反向代理、负责均衡
一、发布静态页面:
意思就是将制作好的HTML网页,直接在NGINX上发布
最简单的就是写个txt文档,里面写上hello word,然后存放在NGINX指定路径下,修改conf配置文档发布即可
二、环境准备
服务器-windows-server2008R2
NGINX-官网解压版1.16
文本编辑器-notepad++
IP-129.xx.xx.135
域名-xxx.com.cn
三、con配置文档笔记
页面发布-http:ip/域名:端口号
用法:server{
listen 任意端口号;
server_name ip/域名;
location /{
root 页面的存放目录;
index index.html index.htm;
}
}
四、操作步骤
1.前往官网下载NGINX,选择合适的版本:http://nginx.org/en/download.html
2.解压拷贝至D盘
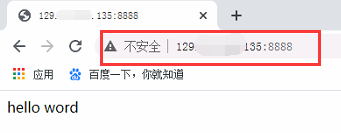
3.例如发布一个页面,地址是 http://ip:端口号【http://129.xx.xx.135:8888】
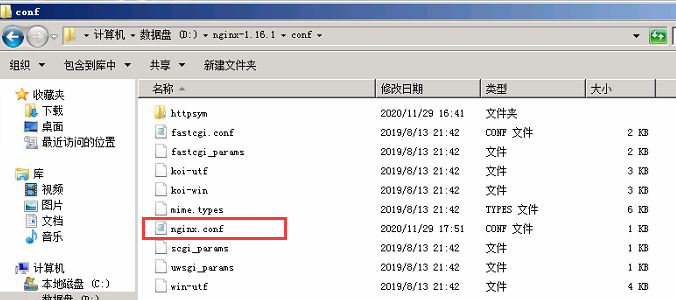
进入conf目录,编辑conf文件

修改配置:
server{
listen 8888;#端口号修改为8888
server_name localhost;#服务器选择localhost,访问ip即可
location /{
root ppp2;#在nginx目录新建一个ppp2的文件夹,存放页面
index index.html index.htm;#主页是index.html
}
}
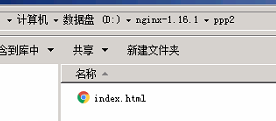
在NGINX下创建PPP2的目录,再创建一个文本为index.txt,重命名修改完index.html;


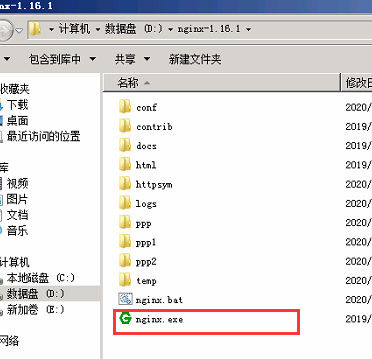
进入NGINX目录,双击NGINX.EXE,启动NGINX,浏览器尝试访问


五、进阶案例
1.使用域名访问
申请一个域名将起DNS绑定在此IP上,然后修改配置文件里面server_name为域名
修改配置:
server{
listen 8888;#端口号修改为8888
server_name xxx.com.cn;#服务器选择域名,域名访问
location /{
root ppp2;#在nginx目录新建一个ppp2的文件夹,存放页面
index index.html index.htm;#主页是index.html
}
}
2.使用域名+80端口
80端口比较特殊,是系统为http协议默认保留的端口;使用80端口,不用加:端口号
如果在NGINX上配置了,其他应用就不能使用了,同理例如在IIS,或TOMCAT等上使用了80端口,NGINX也使用不了
申请一个域名将起DNS绑定在此IP上,然后修改配置文件里面server_name为域名,listen端口设置为80
修改配置:
server{
listen 80;#端口号修改为80
server_name xxx.com.cn;#服务器选择域名,域名访问
location /{
root ppp2;#在nginx目录新建一个ppp2的文件夹,存放页面
index index.html index.htm;#主页是index.html
}
}
